Thursday, August 28, 2014

Exciting News


Happy Thursday! I'm so glad you stopped by! You wanna know why? Because I have a really, really exciting announcement!  Starting next Wednesday, I will be joining four other incredible bloggers in hosting What You Wish Wednesday. It is a link party where other bloggers can link up their posts and share with you all. Each Wednesday, plan on stopping by for lots of inspiration: home decor, DIY projects, recipes, travel tips, household management, frugal living, and much more.  Because, you know, bloggers will be linking up anything they wish. Also, each week I will be featuring my favorite posts from the previous week's link up. Never been to a link party? Well, let me tell you, you just don't know what you are missing.  You just have to come back and check it out next week!  Or better yet, check out this week's link up here.  Go ahead and check it out. I'll be waiting right here.  When you get back, I've got lots more to tell you! ( I spied lots of recipes, back to school printables, style tips, and some sewing tips.)


You're back? Wonderful. Now we can finish our awesome conversation.  I really wanted to introduce you to the gals that make WYWW what it is.  Go check out each of their blogs, browse through their posts. (you can click on the blog buttons below or in my sidebar to visit each blog.)

Meet the hostesses:


Our Joy His Glory


Texas based Leslie from Our Joy His Glory has lots of home projects and yummy recipes!  Go catch up on her Imperfect Home Tour. Her home is beautiful! 



Nikki from Nikki's Nacs shares anything from home decor projects and recipes to organization and entertaining. Check out her 2 Bills 2 Blow series! oh, and Nikki is an Alabama gal just like me!


Melissa of Simply Sweet Melissa is newly engaged and planning her wedding. How fun is it to see the process as she documents it on her blog? This North Carolina based gal is a Southern bride blogger. See her blog for wedding inspiration and much more!



Stasia is a Georgia gal who blogs about, well, her life on a budget. Take the journey with her as she budgets not only money, but time, talents, and resources as well. 


Okay. Now that you have been properly introduced to all the hostesses, I hope you'll plan on checking back next Wednesday for the link up in all its glory! Okay? Yeah, it's a date!


ONE more thing!  Don't forget to enter into my One Year Blogiversary giveaway! Go here to enter!


Wednesday, August 27, 2014

One Year Blogiversary


It has been one whole glorious year since I launched Cultivate Create! I wanted a place to share my passions for all things DIY!  (You can see my very first post here.) I wanted something I could call my own, something I could be proud of.  After a year of blogging, I can say that I love it more now than when I started. I have met some incredible people through blogging that I now consider friends even if we are many, many miles apart. I have learned and I have grown, and I am so excited to see what the next year brings. 

I have shared with you my struggle to get healthy and lose weight, home projects as we complete them, and lots of DIY ideas. I hope only to improve in the next year! 

Here are some changes being made:
~Cultivate Create is getting a facelift! Yep, we will have new and improved design very soon!
~Better navigation. I will be working on improving site navigation so that it is easier for you to find posts that you want to read. A new and improved "Projects" page is on its way. 
~Lots of cool projects are coming up! I don't want to spill all the beans yet, but exciting things are on the way. In fact, check back tomorrow for a big announcement!
~More giveaways! How about some free giveaways throughout the year? Yes? I thought so.


Seriously, you guys are the best! So, to celebrate my one year "blogiversary," I thought I would host a giveaway to show you guys how truly appreciative I am for you stopping by and reading. The giveaway is open to US residents only and ends next Wednesday! Good luck!


a Rafflecopter giveaway


Thrift Store Chair Makeover


Once upon a time there was a girl who loved a good bargain. She searched high and low for great deals on furniture and items for her home. After a long and tiring search, she found the perfect chair at a flea market. Lo, it was only $7! She brought the chair home with her and they lived happily ever after. 

Or at least they have lived happily so far. 


When I spotted this chair a couple of years ago at a local thrift store/flea market, I could not believe the price. It was such a pretty chair if you could look past the faded and dated floral fabric, and the fact that it looked like the previous owner tried to "white wash" the chair using blue paint. It is hard to see in the picture, but it didn't have an even coating of blue paint, just randomly slopped on.  Anywho, it had to come home with me! (The fabric wasn't torn when I bought it. That tear is thanks to regular old wear and tear.)


How I updated the chair:

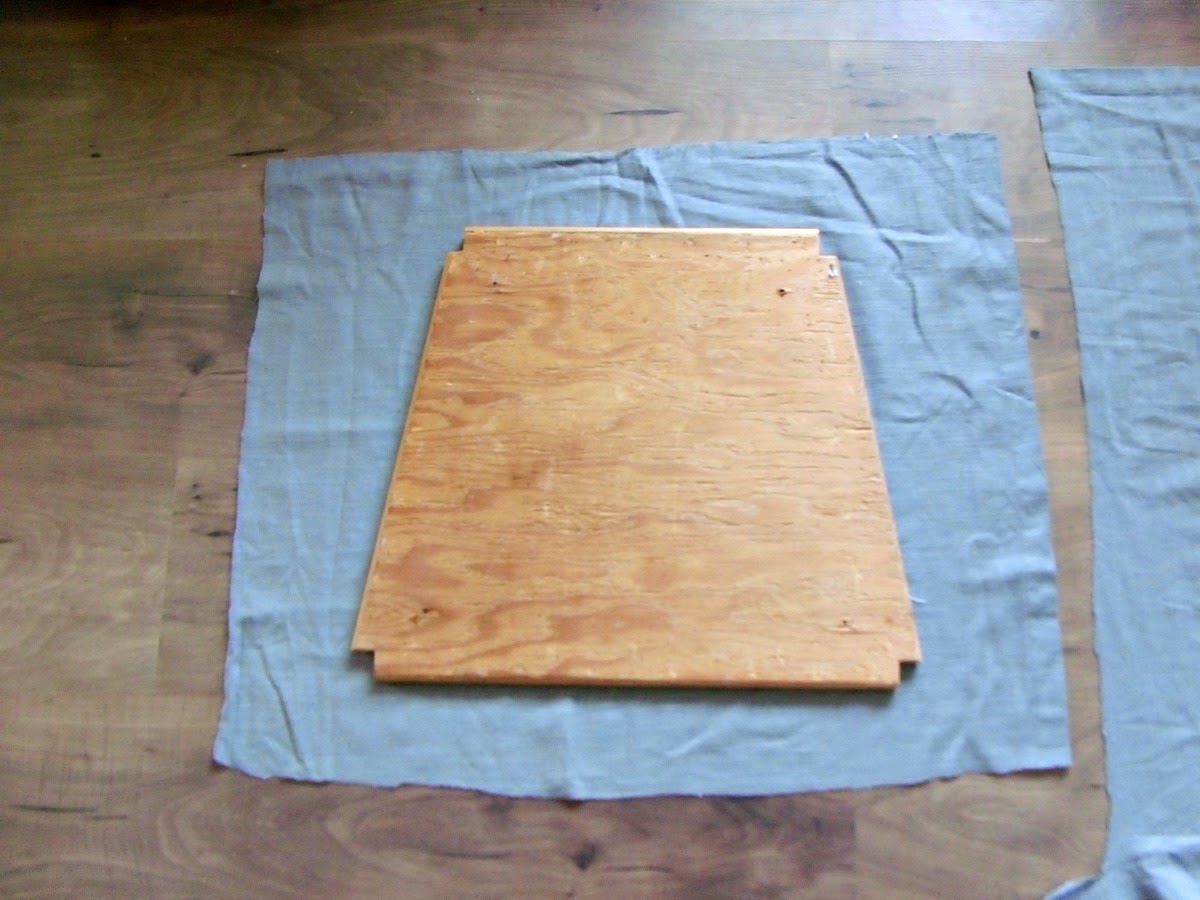
I started by removing the seat and taking off the old fabric that had been stapled on with a bazillion industrial staples. Then I spray painted the chair with Valspar semi-gloss paint and primer in one.  While it was drying I got busy working on the seat.  

I had this cute curtain panel tucked away in a closet, but hadn't used it because it wasn't long enough for my windows. It is a Target panel that I got at Goodwill (still in original packaging) for $6.  I decided that a bird in the hand is worth two in the bush in this instance. It would've cost me more than double that for a yard of upholstery fabric.  I only had to use a small portion of the panel and still have lots left over for more projects. (That cute white design at the bottom of the panel is going to make some really cute throw pillows!)


When covering seat cushions, make sure you leave a good bit of excess fabric on either side of the seat. Once you get your cushion and batting on, it will take up more space than you think. You can always trim excess later.  Oh, and make sure you iron your fabric before you attach it to the seat. 


I chose to go really neutral with this chair because I wanted to have the freedom of moving it from room to room if I need to. That way, it will work well in more than one room. If I had a permanent spot for it, I would've gone much bolder with the seat fabric. 


After the chair was dry, I took a piece of sandpaper and roughed up the edges a bit. I didn't do much. It always drives me crazy to see furniture makeovers where it looks like the sander attacked it with the vengeance of jilted lover.  You've seen them, too. They will have random patches of "wear" in places it wouldn't naturally happen.  I like my pieces to look more natural. 


I usually sand lightly only in places where wear would naturally happen; on the edges of the chair, on curves and sides of the piece. 


The gray and white is super neutral but, like I said, it enables me to move the chair around to different rooms if I need. I can always add a pillow for a pop of color.  I still can't believe that I found this chair for $7. It has such pretty detail in the woodwork. It is one of my favorite flea market pieces.


Have a creative day!
Amanda

Tuesday, August 26, 2014

How to Dry Hydrangeas


In thinking ahead to fall decorating, I knew that I wanted to use dried hydrangeas. They are one of those flowers that makes a statement and dries really well. I have four hydrangea bushes in my yard; one oak leaf hydrangea and three regular hydrangea bushes with the bluish flowers. I had already cut all the blooms I could from my bushes but I still needed more. A sweet lady from my hometown offered to let me come to her home and cut all I wanted from her many, many bushes. I took her up on her offer and came home with an abundance of gorgeous blooms, and it didn't even put a dent in the amount of blooms she had. 


Just in case you are wondering, these are Limelight hydrangeas, and unlike traditional hydrangeas, they grow in sun on new growth. I definitely want to plant some of my own next spring. They are gorgeous with huge blooms. 


There are a few methods to drying hydrangeas and it's good to experiment to see what works best for you.  Some people cut the blooms and hang them upside down to dry. When drying the blooms I cut from my own yard, I just put them all on a table in out of direct sunlight and let sit for a few days.  This didn't work so well for me because (1) I waited too long to cut the blooms in the first place and (2) I left them in the sweltering heat.  They are now very crisp and brown. I don't mind so much. Since I am using them for fall decorating, they will work just fine. For the hydrangeas I cut this weekend, I wanted to try a different method. 


Drying Hydrangeas:

*Pick blooms when they are a little papery. New blooms won't dry well. Then, remove all leaves from the stem.


*Put the stems into water. Since I had so many and they were so large, I used five gallon buckets. Fill the water about half full. Allow the water to evaporate out and by the time the water is gone, your blooms should be dried to perfection. Also, make sure they are out of direct sunlight. 


I made some bouquets for inside, too. The best part about drying hydrangeas is getting to enjoy their beauty during the process. 


Have you ever dried hydrangeas?  What method worked best for you? I'd love hear about it. Leave a comment!


Monday, August 25, 2014

Fall Party Supply Sources


Fall is so close, I can almost taste it.  (Yes, I'm saying this in spite of the near one hundred degree weather we've had the past couple of days.)  College football kicks off this weekend, and I hope cooler weather follows shortly thereafter. I don't know what it is about this time of year, but it seems like we have a lot more gatherings; tailgate parties, fall parties (because fall party food is the absolute best), Halloween parties. And those all usher in Thanksgiving and the Christmas season.  For that reason, I am sharing with you my favorite places for adorable and affordable party supplies.  Gearing up for a football viewing party?  Planning a fall soiree? Don't worry. I've got you covered. 

TomKat Studio
TomKat Studio
I love TomKat Studio. If you want trendy, on-point party supplies, then this is for you.  They have anything from party decorations to Cricut items and baking supplies. They also have printables for your event. (And you know I love a good printable.)


Just Artifacts
www.justartifacts.net
I just recently placed an order with Just Artifacts, and I was really impressed with both the items offered and the low prices. Seriously, you have to check them out! They have anything you could possibly need for a party or gathering! Tissue paper poms, paper lanterns, tissue tassels, and cute buffet supplies. 


Etsy
The Lovely Memories
It's no secret that I love Etsy, and while searching for party supplies, this was no exception.  There is a plethora of goods for your gathering at any given time. If you know specific keywords to type in, then your search should be easy. But shifting through all of the many, many Etsy shops can be overwhelming. Here are a few I found that had both great prices and quality items. 

The Lovely Memories has paper treat bags, stripey straws, favors, and personalized invitations. Check out their wooden chalkboard buffet easels.
Road Side Chick
I love RoadSideChick!  She has the best assortment of favor and food boxes and plastic mason jars with lids. I loved this pumpkin cookie cutter. See how it comes with the cookie and frosting recipe? Would be great for home or a gift.

Paperandcake
Paper And Cake takes the cake on printable partyware. I loved this Modern Fall Printable Party Collection.  Isn't that cake topper adorable? The set includes: 
Cupcake Picks 
2” Party Rounds +
-place cards
-party food labels
-name tags
-garland
Wine Glass Tags
Favor Bag Toppers / Party Food Labels +
Napkin Rings / Watter bottle wraps / Juice box wraps +
Banner Leaves (in 5 sizes)
Full Patterned sheets

LouTinenEvents
I can think of a plethora of ideas for uses of baker's twine. I like to keep some on hand at all times. Check out LouTinenEvents for baker's twine, washi tape, and lots of other party and packaging goods. 

getthepartystarted
Get The Party Started has got you covered when it comes to party and shower items. I loved their adorable cupcake wrappers. Also, check out their fall and Halloween iron on transfers for your kiddos!

Team Tailgate Shop
Team Tailgate Shop
Team Tailgate Shop has collegiate items for your tailgate party!  They have NFL items available as well.  Not only do they have party supplies, but tent and tailgate supplies, too. Chairs, grilling accessories, and much more. 

I hope this helps you when planning your fall gatherings! I know I'm looking forward to cooler temps, hot cider, bonfires, and stylish fall parties!


For more fall inspiration, check these out!
Team Color Wreath Tutorial


Mixed Metallics Fall Centerpiece

Pretty Fall Porches


Follow this blog with bloglovin

Follow on Bloglovin

LinkWithin

Related Posts Plugin for WordPress, Blogger...