

Once upon a time there was a girl who loved a good bargain. She searched high and low for great deals on furniture and items for her home. After a long and tiring search, she found the perfect chair at a flea market. Lo, it was only $7! She brought the chair home with her and they lived happily ever after.
Or at least they have lived happily so far.

When I spotted this chair a couple of years ago at a local thrift store/flea market, I could not believe the price. It was such a pretty chair if you could look past the faded and dated floral fabric, and the fact that it looked like the previous owner tried to "white wash" the chair using blue paint. It is hard to see in the picture, but it didn't have an even coating of blue paint, just randomly slopped on. Anywho, it had to come home with me! (The fabric wasn't torn when I bought it. That tear is thanks to regular old wear and tear.)

How I updated the chair:

I started by removing the seat and taking off the old fabric that had been stapled on with a bazillion industrial staples. Then I spray painted the chair with Valspar semi-gloss paint and primer in one. While it was drying I got busy working on the seat.
I had this cute curtain panel tucked away in a closet, but hadn't used it because it wasn't long enough for my windows. It is a Target panel that I got at Goodwill (still in original packaging) for $6. I decided that a bird in the hand is worth two in the bush in this instance. It would've cost me more than double that for a yard of upholstery fabric. I only had to use a small portion of the panel and still have lots left over for more projects. (That cute white design at the bottom of the panel is going to make some really cute throw pillows!)
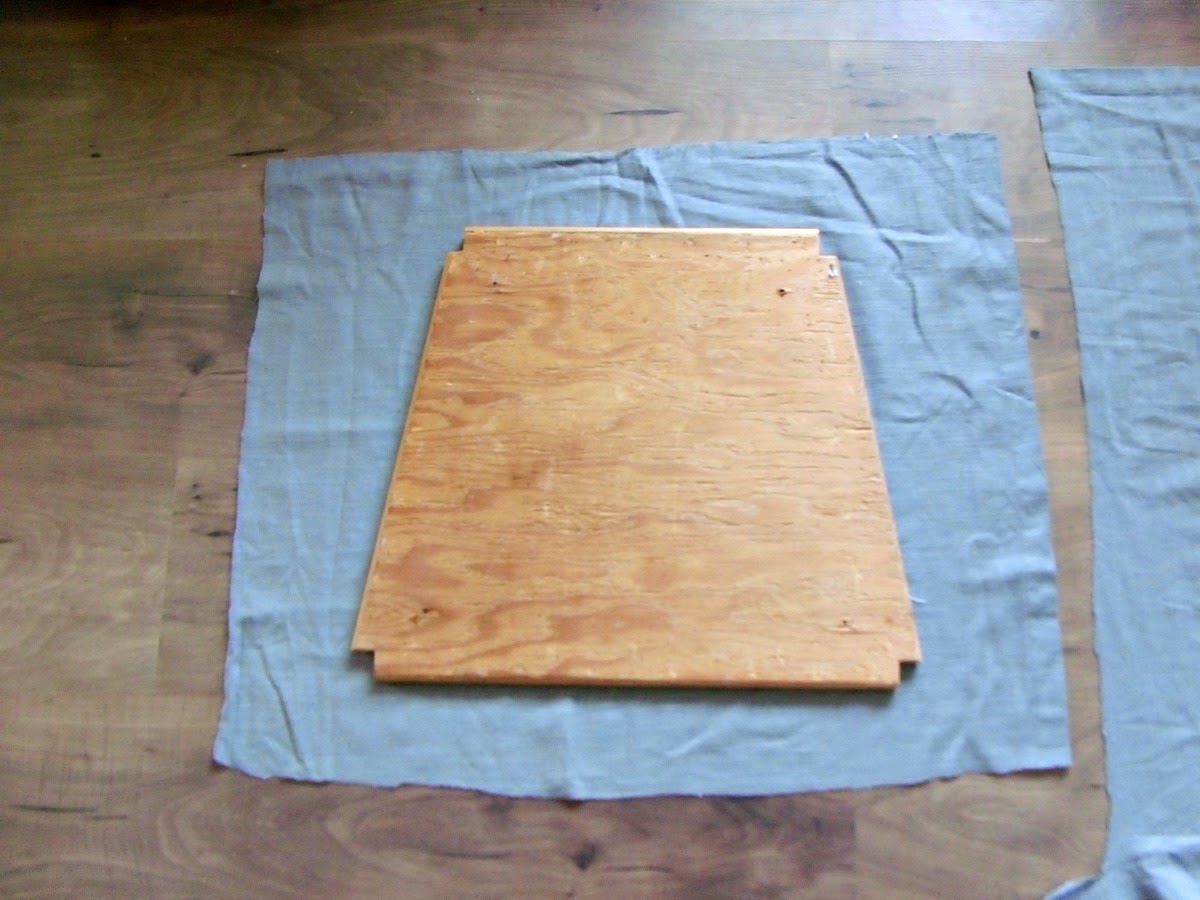
When covering seat cushions, make sure you leave a good bit of excess fabric on either side of the seat. Once you get your cushion and batting on, it will take up more space than you think. You can always trim excess later. Oh, and make sure you iron your fabric before you attach it to the seat.


I chose to go really neutral with this chair because I wanted to have the freedom of moving it from room to room if I need to. That way, it will work well in more than one room. If I had a permanent spot for it, I would've gone much bolder with the seat fabric.


After the chair was dry, I took a piece of sandpaper and roughed up the edges a bit. I didn't do much. It always drives me crazy to see furniture makeovers where it looks like the sander attacked it with the vengeance of jilted lover. You've seen them, too. They will have random patches of "wear" in places it wouldn't naturally happen. I like my pieces to look more natural.

I usually sand lightly only in places where wear would naturally happen; on the edges of the chair, on curves and sides of the piece.


The gray and white is super neutral but, like I said, it enables me to move the chair around to different rooms if I need. I can always add a pillow for a pop of color. I still can't believe that I found this chair for $7. It has such pretty detail in the woodwork. It is one of my favorite flea market pieces.
Have a creative day!
Amanda

No comments:
Post a Comment