Showing posts with label Furniture Makeover. Show all posts

Thursday, February 04, 2016

Playroom Table Makeover

There's nothing like finding a piece of furniture that is less than desirable and bringing it back to life with a little paint and TLC. I found this small round table for a client's playroom at a local flea market. It was at an affordable price point and was the perfect size and shape for the room. We decided to go for it, knowing that I could transform it into a fun piece for the space.


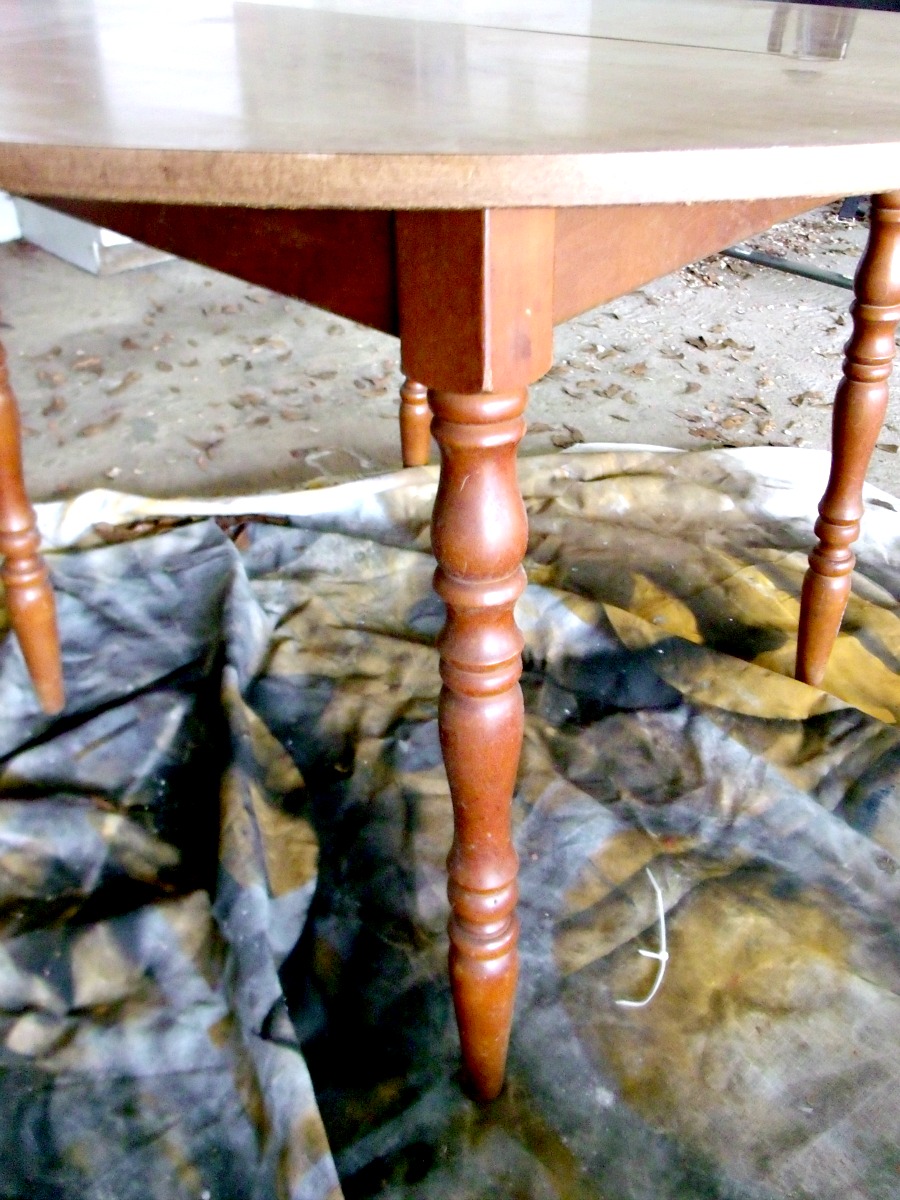
I started with an older laminate table that had seen better days. Nothing a little elbow grease and paint can't remedy. I cleaned it up and painted it with Waverly Chalk Paint in Plaster. (Ya'll pay no mind to my much used drop cloth.)


Once it was painted and dried, I added painter's tape in geometric shapes so that I could put a fun design on the top of the table.


To seal the tape and to make sure we have nice, crisp lines, I painted the edges with the same chalk paint and let dry completely before moving forward.


This is after only one coat of paint. I chose colors that we were using in other areas of the room, making sure the gray was the main color and then adding the pops of color. The gray was Southern Belle Chalk Paint. It was the first time that I'd used that brand and I really liked the coverage and the color saturation. The other colors were just latex craft paint. After a second coat and time to fully dry, I removed the painter's tape and sealed with a clear wax.

I'll be sharing the finished product soon so be sure to stop back by and follow along on Facebook and Instagram for post updates.

Wednesday, September 09, 2015

Waverly Chalk Painted Dresser


A few weeks ago, my husband spotted this gem on a local Facebook buy/sell/trade page. He showed it to me, and I immediately jumped at getting this beautiful dresser. The price was right and it was exactly the style and size that I needed for my daughter's bedroom.


I'm not exactly sure how old this dresser is, but it was in pretty good condition apart from the sanded top and the dated color......a dingy cream with brownish-gold trim. I knew that it'd be an easy fix to make this dresser sing again.


I've used chalk paint many times before to update furniture pieces, but had never used the Waverly brand. It's much more affordable than the Annie Sloan brand, but I wasn't sure that the quality would be the same. I decided to try it out. If I didn't like it, it's just a matter of repainting. I chose the colors Plaster for the body and Elephant for the trim. How can you go wrong with white and gray? (By the way, my go-to paint of choice for furniture is chalk or milk paint because it eliminates the need to sand or prime in the first place in most circumstances.)


However, when I got finished painting the gray trim, I wasn't crazy about it. It wasn't the shade of gray that I thought it would be....it dried much darker (and with a blue tint) than I expected. I ended up repainting the trim with Valspar Mountain Smoke that I already had on hand. 


Once I finished painting, I sealed it with a paste finishing wax. I use Minwax paste wax. It goes on with a hint of an orange tint, but it dries clear. I love that stuff. I've used it on many pieces and it always looks nice and gives a nice finish. When refinishing furniture, especially when using chalk paint or milk paint, DO NOT SKIP THIS STEP! It's very important to seal it to protect the paint and give it longevity. Milk paint has a flat finish and if left unsealed, it will easily stain or chip. If you're going to distress your piece, do it before you use your wax. When you apply the wax, it should keep it from further chipping. (I didn't distress this dresser.)


After I painted the gray trim, I took some gold metallic craft paint and gently rubbed it on. I wanted a slightly aged look with a little bit of shimmer. It worked out perfectly and I am in love with the result! It's so pretty how it catches the light. 


Overall, I would say that the Waverly paint worked just as well as some of its more expensive counterparts.  I didn't even use a whole container of paint for this project and it was a pretty small jar. You can purchase this paint at Wal-Mart, however the availability may vary by store and region. My local Wal-Mart used to carry it in the store, but now doesn't. I had to order mine from walmart.com. I was pleased with how this dresser turned out and will definitely use this paint again, even if I have to order in online. It was worth it. 

Have you ever used Waverly chalk paint before? What were your experiences with it? Do you have another chalk paint or milk paint that you love? I want to hear about it! Leave a comment below!


Linking up to:

Wednesday, July 08, 2015

10 High Style Ikea Hacks

In the home decor and diy world, Ikea is almost this magical fairy land where prices are low and possibilities are high. While you can go to Ikea, pick something up off the shelf, take it home and use as is, many like to try to re-imagine and make things their own. With the prices as low as they are, you can definitely afford to do so. It's a creative's dream, a blank canvas of wood and veneer, and a virtual green light for anything you can dream of.

I'm heading to Ikea next week, and have been studying their products a bit to use for a client, and I have come across some beautiful "hacks" that will make you want to head straight to the store and get started on your own project. Here are ten high-style hacks that caught my eye! The links below each photo will take you to the original post.

These first three are all variations of the Rast dresser (pictured above). It is an unfinished, wood dresser that only costs $35! That's a great deal!

1.
//Via www.addicted2decorating.com//
2.
//Via //
3.
//Via//


4. These next two photos are at my own home. These photos that I shared on Instagram show our media console made from Ikea Billy bookcases. I always have lots of comments and questions about it so I thought I would show it. It was simple to make and was very affordable.


I got the idea for this "built-in" look on iheartorganizing.com. You see the post that inspired us HERE! We took the instructions there and made it fit for our home.

5. Here is another hack that showcases the Billy bookcase, as well as the Besta.
//Via//
6.

//Via//
7.
//Via//

8. And the Hemnes was used to create this cute "mudroom" area.
//Via//
9. A library cart made from spice racks.
//Via//
10. Beautiful window seat and shelving. Looks like built-ins!


//Via//
I am so inspired by these projects and can't wait to get to Ikea next week. (The closest one to me is in Atlanta, four and a half hours away.) I don't get to go often so I am stoked! Do you have Ikea near you? Have you ever attempted an Ikea hack? I'd love to hear about it! Leave a comment!

Wednesday, August 27, 2014

Thrift Store Chair Makeover


Once upon a time there was a girl who loved a good bargain. She searched high and low for great deals on furniture and items for her home. After a long and tiring search, she found the perfect chair at a flea market. Lo, it was only $7! She brought the chair home with her and they lived happily ever after. 

Or at least they have lived happily so far. 


When I spotted this chair a couple of years ago at a local thrift store/flea market, I could not believe the price. It was such a pretty chair if you could look past the faded and dated floral fabric, and the fact that it looked like the previous owner tried to "white wash" the chair using blue paint. It is hard to see in the picture, but it didn't have an even coating of blue paint, just randomly slopped on.  Anywho, it had to come home with me! (The fabric wasn't torn when I bought it. That tear is thanks to regular old wear and tear.)


How I updated the chair:

I started by removing the seat and taking off the old fabric that had been stapled on with a bazillion industrial staples. Then I spray painted the chair with Valspar semi-gloss paint and primer in one.  While it was drying I got busy working on the seat.  

I had this cute curtain panel tucked away in a closet, but hadn't used it because it wasn't long enough for my windows. It is a Target panel that I got at Goodwill (still in original packaging) for $6.  I decided that a bird in the hand is worth two in the bush in this instance. It would've cost me more than double that for a yard of upholstery fabric.  I only had to use a small portion of the panel and still have lots left over for more projects. (That cute white design at the bottom of the panel is going to make some really cute throw pillows!)


When covering seat cushions, make sure you leave a good bit of excess fabric on either side of the seat. Once you get your cushion and batting on, it will take up more space than you think. You can always trim excess later.  Oh, and make sure you iron your fabric before you attach it to the seat. 


I chose to go really neutral with this chair because I wanted to have the freedom of moving it from room to room if I need to. That way, it will work well in more than one room. If I had a permanent spot for it, I would've gone much bolder with the seat fabric. 


After the chair was dry, I took a piece of sandpaper and roughed up the edges a bit. I didn't do much. It always drives me crazy to see furniture makeovers where it looks like the sander attacked it with the vengeance of jilted lover.  You've seen them, too. They will have random patches of "wear" in places it wouldn't naturally happen.  I like my pieces to look more natural. 


I usually sand lightly only in places where wear would naturally happen; on the edges of the chair, on curves and sides of the piece. 


The gray and white is super neutral but, like I said, it enables me to move the chair around to different rooms if I need. I can always add a pillow for a pop of color.  I still can't believe that I found this chair for $7. It has such pretty detail in the woodwork. It is one of my favorite flea market pieces.


Have a creative day!
Amanda

Follow this blog with bloglovin

Follow on Bloglovin

LinkWithin

Related Posts Plugin for WordPress, Blogger...