Tuesday, December 16, 2014

Christmas Home Tour 2014 Part 2

Welcome to Part 2 of my Christmas Home Tour. (You can see Part 1 HERE.)We're in the living room today and I am soooo excited to show you. It is probably my favorite area in my home right now. My Christmas decorations turned out just how I wanted them and it just feels so cozy and warm. 

If you've been reading Cultivate Create, you may notice some updates to this room since last I shared about our living room-dining room switcharoo and the last update I gave on this room. I still stand by my decision to flip flop the two rooms......more so now than ever. It works for us and flow so much better now. 


I really wanted kind of a vintage Christmas vibe in here. I decided to use red, blue, and lime green and lots of bottle brush trees and DIY snowglobe jars. I'm glad I went in that direction because I love it!  Oh, and see my gold polka dot wall? I really love that! The polka-dots are vinyl and easily peel off and can be re-stuck. (Is that even a word? Let's just go with it.) No big deal if I get tired of it and want to change things up. (Sources: sofa, chairs, coffee table and side tables--P.S. Faulk, rug--Target, gold lamps--TJ Maxx, gold vinyl polka-dots-- Jane.com, various pillow covers--Target, Jane.com, and Old Time Pottery, and diyed by me!)


You can't have a holiday party without a Yule Log, right? 


In most of my frames in our entertainment center, I framed Christmas cards from years past. I picked the ones that had reds, blues, and greens to coordinate with my tree. 


Our elf, Chippy, got himself stuck in my blue vase that I scored at The Confetti Crate in Troy, Alabama. Silly elf. (Actually, my hubby had elf duty the night before and that is where he decided to put him.)


I used lots of paper fan ornaments on this tree this year. 


These blue ornaments came from Wal-Mart. They looked vintage to me, so I snatched them up!


I was able to use these stockings once again this year. They are some I sewed a few years ago. (Don't look too closely. They are far from perfect. I am not much of a seamstress.) I hung them on this antique wooden ladder where I usually keep blankets throughout the rest of the year. 


Fresh greenery makes the room so cheery!


I love mixing the textures of my pillows. The fuzzy pillows match our tree skirt. 


I found the polka-dot and aztec print papers at HomeGoods last year on the day after Christmas. 


That's all for my home tour this year!  Don't forget to come back tomorrow for a new Home Tour!


Monday, December 15, 2014

Christmas Home Tour 2014 Part 1

Home Tour Week has arrived! I'm so excited to show you some beautiful homes this week, all decked out for Christmas. Each home is different and I love how it reflects the styles and tastes of each homeowner. 

I was only going to take one day for my home tour, but there were so many photos that I decided to break it up into two posts.  So this week of home tours may run into Saturday or Monday of next week. I haven't decided yet. 

Part 1: Kitchen and Dining Room

As you enter my side entry, I have an Advent Calendar set up for my girls. Of course, by now there are only a few days left, but here is what it looked like when I made it. 
Treat Bag Advent Calendar


The side entry comes right into my kitchen which is open to my dining room. In my kitchen, I added gold and silver ornaments to my milk glass and other pretties that I keep on my small shelves. You'll notice that for the most part, in this entire space, I used golds, silvers, and whites. I kept it neutral since I have green walls. 


My ceramic fox even got a gold scarf to make him festive for the holidays. I don't take myself too seriously and that is generally reflected in my decorating. I like doing quirky and unexpected things sometimes. 


I did a simple centerpiece on my dining table. Nothing too difficult, just enough to add a little glitz and interest. 


I used my bookcase to make another tree in the room out of books. I turned the books so the spines were not showing. It's so funny when people come over because it usually takes them a little while before they even notice it, but when they do they are like, "Oh! It's a Christmas tree!" 
DIY Wood Christmas Signs


DIY Ornament Wreath


DIY Coffee Filter Snowballs and Snowglobe Jars


I love this reindeer. I ended up moving my ornament wreath from this spot and hanging it on the mirror above my buffet, and he was placed here instead. I found the cardboard form at Micheal's and painted him, then glittered up his antlers. 


Updated Christmas Village


I made lots and lots of vintage paper ornaments for my tree this year. They turned out so pretty and look great with the gold and silver! And my tree is so big, that I just used a 4x6 rug I had on hand as kind of tree skirt. (This tree was a yard sale score a couple years ago for only $25!)


You can see my article on how to make these vintage paper ornaments in Southern Holiday Life Magazine, Christmas 2014 edition.


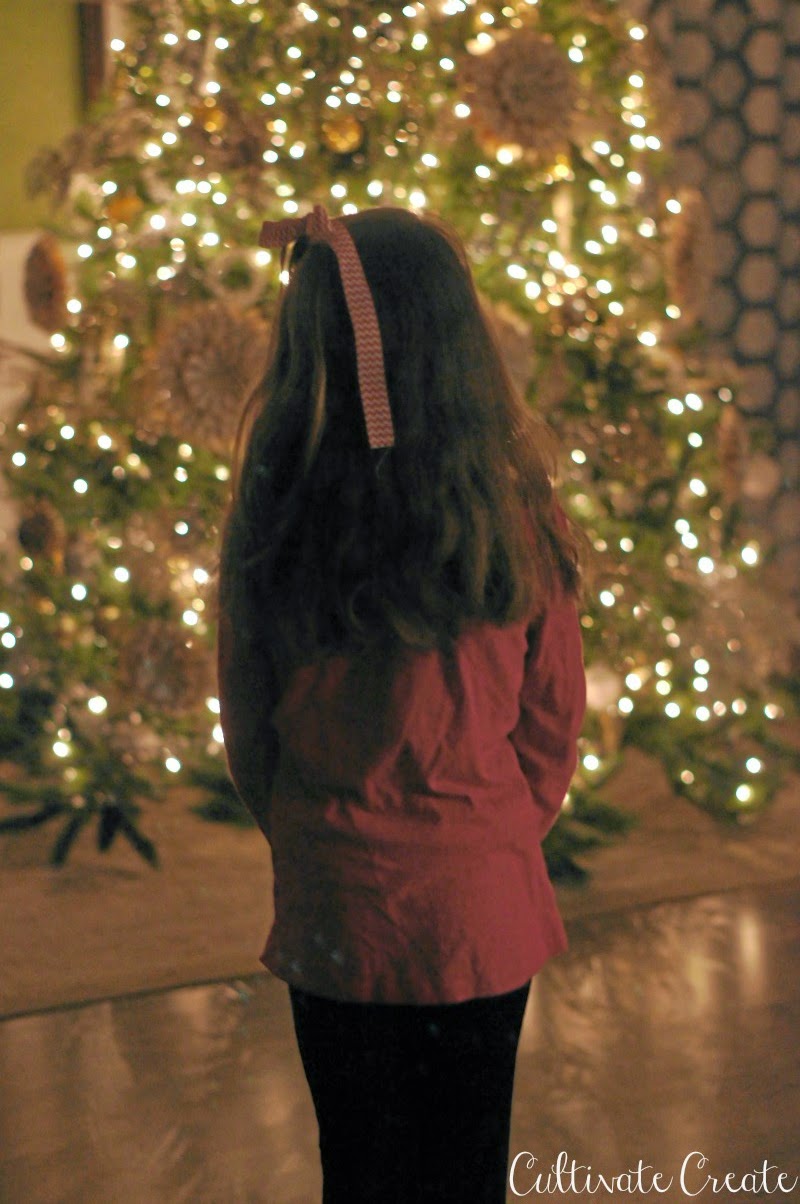
I had to show you the pretty glow my tree gives off at night. I love just sitting and looking at my trees while they are up. I try to really enjoy them while I can.  My kiddos love looking at them, too.


Thanks for stopping by today. Be sure to come back tomorrow for Part 2: Foyer and Living Room!
Thursday, December 11, 2014

Wood Christmas Signs

This year, I decided to make a few wood Christmas signs for our home and front porch.  We even used them as props in our Christmas photos.

Photo courtesy Newman's Photography

Photo courtesy Newman's Photography

Photo Courtesy Newman's Photography
Goodness!  Sometimes my girls are so silly! 


After our photos, the Joy to the World signs made their way to the front porch. 


I used basically the same methods on all my signs, with some variation. Here's how each was made. 

Joy to the World sign:
For these signs, I used a Cricut to cut out large letters. ( I didn't have enough vinyl for those large letters, so paper it was.)  I painted the sign white, my background color of choice, then placed the paper letters where I wanted them. I then traced each letter and then hand painted the signs. Not hard or complicated, just a little time consuming. 


Merry and Bright sign:
This sign was a bit easier than the Joy to the World ones. I used vinyl instead of paper so it made it easier. First, I painted the board red where "merry" would be and green where "bright" would be. The "and" is just the natural wood showing.  Once the red and green where completely dry, I placed my vinyl on the board. Then, I painted over the whole thing with white paint. When the paint dries and you peel off the vinyl, it leaves the red and green underneath. This process is easier and less time consuming than the "trace and hand paint" route.  


Oh Holy Night sign:
This sign was made using the same process as the Merry and Bright sign. This time, though, I just let the natural wood shine through.  I placed my vinyl letters that I cut out with a Cricut on each board, painted white, dusted with glitter while the paint was still wet, and let dry. Once dry, I simply peeled off the vinyl and DONE! The only thing I would recommend for adding glitter is that if you want the glitter to stay on the sign and not end up on your floor, you need to give it a clear coat of poly. I regrettably skipped this step and have been sweeping up glitter. I will have to do that before I store these for next year. 

I think that basically covers it. If you have any questions, please leave a comment below or email me and I will do my best to help! 

Follow this blog with bloglovin

Follow on Bloglovin

LinkWithin

Related Posts Plugin for WordPress, Blogger...