Showing posts with label Before and After. Show all posts

Thursday, September 24, 2015

From Green to Grown-Up Gray


Over the last couple of weeks, I slaved away at painting over the horrid green that had long since given me mental design blinders in the main living areas of our home. When I first painted the green three and a half years ago, I felt it was cheerful and fresh. I wasn't (and still am not) afraid of color and I embraced it. However, I never could get the room to be quite "right". It just never felt cohesive or anything like what I had envisioned for it. And the room ALWAYS photographed a lot greener and neon than it really was. After much lamenting about the HUGE job it would be to paint that large of a space, I just bit the bullet and did it. (And thanks to my friend Ashton for helping me out one day!) It didn't hurt that I was to host a baby shower for one of my best friends this past weekend, so having a deadline put me into high gear to get it all done.

Let me tell you, it was soooo worth it! Once I got it finished, I could almost physically feel a weight lifted off my shoulders. It's like the green pressed down on me and kept me from being able to really progress as far as decorating goes. I was completely and totally stuck, to tell you the truth. The gray has lightened up the space and given me a fresh perspective on what all is possible in the space. I LOOOOOVE it!

I went with Gray Owl by Benjamin Moore. It was the one that didn't read too purple or too blue. It seemed to be just the right shade of neutral for our space. Picking out a paint color was hard, but once I saw the different shades in various areas of our home at different times of day, the choice was easy.

I really feel that my design tastes have matured a bit. I know myself and what I like a little better, and have a better sense of how to pull a room together. (I am by no means an expert. I still have LOTS of learning to do, but I feel like I have grown a lot.) Anywho, this feels like a much more grown-up space. It's almost like I have finally embraced that I am an adult. That concept is still really weird to me because it feels like I was 21 yesterday. But, nonetheless, I'm loving our new "grown-up" space. 

Just to give some perspective of the work we've done since moving into the home, I'm including some before, during, and now photos. I obviously have a pretty blank slate right now. My next step will be to add in some warm wood tones to warm up the space, lots of textures, and small pops of color. Here's the progress in our home:

Butler's Pantry:


Before: when we first moved in.


What it looked like the last three years. 

Now. This space is hard to photograph because there isn't any natural light right here. 
Kitchen:

Before

During

Now. I can't believe how much the gray paint lightens up the space!

Dining Room:


Looking into kitchen from dining room:

Before

During

And this same area after I added the Chevron Wall.

Now
Side Entry:


During


I'm still amazed at how different our spaces look now! I really, really, really love it! I can't wait to find some really pretty wood tones to add into the rooms and to see how seasonal decorating plays out with a neutral gray background. Stay tuned for my fall home tour! 


Linking up to:
Before and After Wednesday at The Dedicated House

Tuesday, June 24, 2014

Laundry Room Rescue

When we bought our current home two years ago, we inherited a dungeon of a laundry room.  It was dark, outdated, and had really weird shelves that weren't attached at the ceiling. 

Now, laundry is probably one of my least favorite chores. Combine that with having to go into the "dungeon" and I absolutely dread it sometimes. There is no natural light and there was blue indoor/outdoor carpet on the floor.


You know, when I walked in there sometimes, it kind of reminded me of Kevin on Home Alone when he walks into his basement. Yikes!


We removed all of those weird shelves....


Removed the blue carpet.....


This is what the floor looks like now. The carpet was glued to the concrete subfloor so now it is discolored with glue residue. It also looks like there was tile in this room at one time. We also had to remove some of the baseboards, which revealed a huge gap in the wall. Can't wait to get those boards back on. 


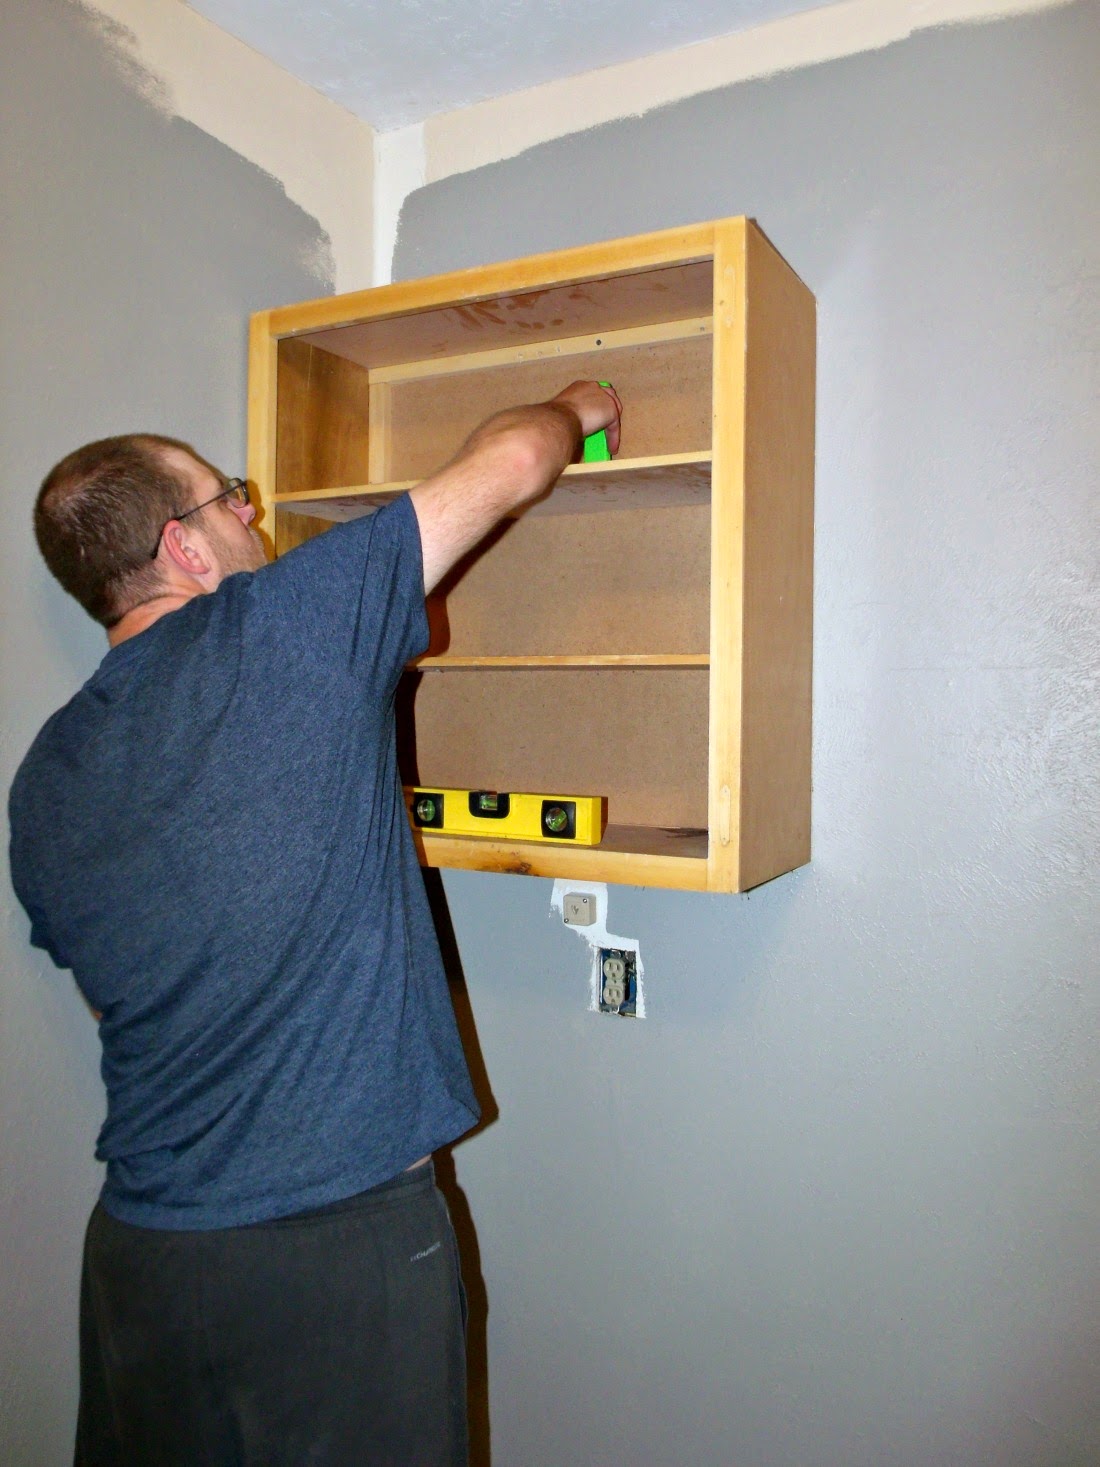
I did start painting this room, and while I do like this gray color, it is just too dark for this space since there is no natural light. Back to the drawing board on that. We had cabinets sitting in our garage that were taken out of our kitchen when we remodeled it and saved them for the laundry room. We also have enough cabinets to use in our office when we get around to it. So, hubby and I hung a section of uppers and added a base cabinet as well. We also had a leftover section of laminate countertop as well. It just needs to be cut to fit this base cabinet. 


Our half bath, which is right on the other side of the right hand wall currently houses the hot water heater. I have no idea why the previous owners decided to put a hot water heater in a bathroom, but now it has to be moved. It will go in the corner of the laundry room beside the cabinets according to the gentleman from the gas company. As much as I would rather not have it in the laundry room, I don't know where else it could go and I would rather it be there rather than the half bath. 


So the laundry room looks marginally better already. It still has a long way to go before we are finished, but I am excited that we have finally started working on this project! 

Here's our to-do list:
*tear out shelves
*rip out carpet
*Hang cabinets
*Paint cabinets
*Cut countertop to fit base
*Paint countertop (yes, I am going to paint it.)
*Tackle floors
*Add baseboards and quarter round
*Paint walls, trim, and ceiling
*Build pedestals for the washer and dryer
*Add shelf above washer and dryer
*New light fixture for more light
*Organize and make it pretty


Tuesday, April 22, 2014

Nightstand Makeover

Still in true fashion of keeping up the longest running room makeover in the history of room makeovers, I am just now getting around to refinishing a nightstand that has probably been sitting in my garage for at least a year. 


My grandmother gave it to me to refinish for her bedroom thinking it was solid wood.  It was not. It was in pretty rough shape with chipped corners and the top bubbling up where something wet had sat on it.  I gave her a nightstand I had that was in better condition thinking that this one was going to get trashed. Yet still, it sat in my garage. I couldn't bear to throw it away even though it looked so rough, hoping that I could maybe salvage it. 


That is where the Zinsser comes in.  This stuff is wonderful!  It is a primer, stain blocker, and bond coat in one.  I put two coats of primer on it.  The finish after the primer wasn't the best, but considering what I was working with, it was okay. I originally was going to paint this white, but after seeing what it looked like after two coats of primer, I opted to go with blue to cover better.  (I thought that the room needed some color on the wall where this was going so it worked out well.) To cover the imperfections on the top of the nightstand, I used Mod Podge to adhere scrapbook paper to the top.  Two coats of Mod Podge and a layer of clear sealer later, it came out looking great!


I spray painted the knobs gold so they would pop against blue drawers. I love the combination of black and white, blue, and gold. It goes so well together. 


(In case you missed the post about the gallery wall, click here. And the post about how to make the monogram wall art, here.)


As you can tell, the room is coming together, but it still lacks a few things that would make it complete.  Here is what my current list looks like......

Shared Bedroom To-Do List:
*Paint over tree wall 
*Paint polka-dot feature wall
*Get new (or in this case, gently used) matching beds
*Order Ashlyn a coverlet that matches Katlyn's existing one
*Get new blinds
*Hang new curtains
*Make throw pillows 
*Make monogram art
*Replace ceiling fan
*Find nightstand or table to put in between beds (refinishing one)
*Hang art on walls
*Find a throw blanket, quilt, or comforter to go at end of bed and be used during colder weather
*Spray paint existing lamp and get new lamp shade.  Actually ended up using an existing light fixture.
*Paint closet doors with chalkboard paint

Only four more things to cross off and I will be done. I have had a diffucult time finding the correct bedding/pillow covers/fabric to make them so I came up with an idea that I can't wait to tell you about. It is on its way, but I am going to stay tight-lipped about it for now. Have a marvelous Tuesday!


Linking up to:


Thursday, November 07, 2013

Painted Front Door


You know, I think that painting a front door is like putting on lipstick.  A pretty shade of lipstick can pull an outfit together, can top off a look.  It can make the okay look more fabulous.  

Painting a front door can mean the difference between "Meh" and "Man oh man!"  I've been meaning to paint our front door for months now, but, until now, just haven't seemed to get around to it.  

You see, our home was kind of boring.  It had white doors, white trim, white windows, and white shutters. I stained my vinyl shutters a couple months ago.  That was like my home's eyeshadow, the mascara.  You know, when you add eye makeup, it brighten's up the whole face.  And staining my shutters brightened up my home.  It made it stand out just a little bit more.  Suddenly, you had something to look at other than white. 

But, the look wasn't complete. Not yet.  Not without the lipstick.  And every girl needs a good shade of lipstick. 


(Via )
Our brick is a reddish orange.  I wanted a bold color to compliment the brick, so I thought turquoise and orange would be perfect just like in this color scheme.  The door color needed to be bold enough to stand out and draw the eye.  Our front door is recessed back, and since it is white, you really don't even see it. 


I started with two shades of blue.  The left is Festoon Aqua by Sherwin Williams and the right is Florida Keys Blue by Benjamin Moore.  While I love Festoon Aqua, it was a bit too muted in the outside light.  I went for the bolder color.  It was the perfect shade of lipstick for my home.   


I added a house number decal that I ordered from Leen the Graphics Queen over a year ago.   It was great quality and affordable at only $10!


I also spray painted the door knob and lock with Rustoleum's Oil Rubbed Bronze.  The lock was gold and the knob was aged and had been painted on a few times.  This unifies the two and gives it new life. 


Now that I have the "lipstick" on,  I am kind of debating painted the trim around the side windows to make it look like it is all one door unit instead of a door and two side windows.  I just can't decide if I should or not or what color I should if I did.  (I was thinking either a color like the shutter stain or the aqua.)  What do you think?  

To paint or not to paint?  That is the question.


Monday, October 28, 2013

Revising the Side Entry

Day 28: 


I am remiss to say that I have missed that last couple of days during the Revising Home series, but we are almost to the finish line and I am going to finish strong.  Today, I thought I would share with you a small change I made in the side entry that makes big impact. (or bigger than before.)


I started with this: 


The problem:  The white mirror is too small for that space and hung too high.  I love, love, love my $3 mirror I found at a garage sale.  I snatched it up and brought it home and painted it white.  It will have to find a new home somewhere else.  Also, while I have a place to hang my purse, coats, backpacks, or scarves, I had nowhere to hang my keys.  


And here is what I ended up with:

The Solution: Sorry about the shaded pic. I couldn't seem to get the light right this morning.  Anywho, I added a larger window frame to fill up the space better. 


I made a fresh Magnolia wreath to hang on the frame for seasonal flare.  I hung it with burlap I painted gold polka dots on. 


My hubby added the hooks to the frame for me so we would have somewhere to hang our keys.  And the arrow is a find from The Chapel Market.  

So went from this......


To this.....


Better? I think so. More functional? Yes!  Do you have a space in your home that needs revising?


Follow this blog with bloglovin

Follow on Bloglovin

LinkWithin

Related Posts Plugin for WordPress, Blogger...